UniBeast: ลง OS X Yosemite on Supported Intel-based PC
UniBeast: Install OS X Yosemite on Any Supported Intel-based PC
คำแนะนำต่อไปนี้เป็นคำแนะนำแบบที่สมบูรณ์แบบสำหรับการติดตั้งรุ่นใหม่ของ OS X โยเซมิตี จะต้องไม่มีประสบการณ์และการติดตั้งและหลังการติดตั้งเครื่องมือที่จำเป็นที่มีอยู่บน tonymacx86.com
UniBeast เป็นเครื่องมือที่สร้างติดตั้งบูตจากเวอร์ชันที่ดาวน์โหลดของ OS X. เพื่อที่จะเริ่มต้นใหม่ที่คุณจะต้องเข้าสู่การทำงานของคอมพิวเตอร์ที่ใช้เสือดาวหิมะ Mac OS X 10.6.8 หรือใหม่กว่า นี่คือความต้องการที่คุณต้องเข้าสู่ Mac App Store เพื่อดาวน์โหลด OS X และสร้างไดรฟ์ที่ติดตั้ง ที่จะเริ่มต้นจากขั้นตอนการบูต 10.6 เสือดาวหิมะปลีกดีวีดีโดยตรงตรวจสอบ iBoot + MultiBeast
เริ่มต้น
1. ลงทะเบียนที่ tonymacx86 หากไม่มีบัญชีผู้ใช้ คลิกที่นี่
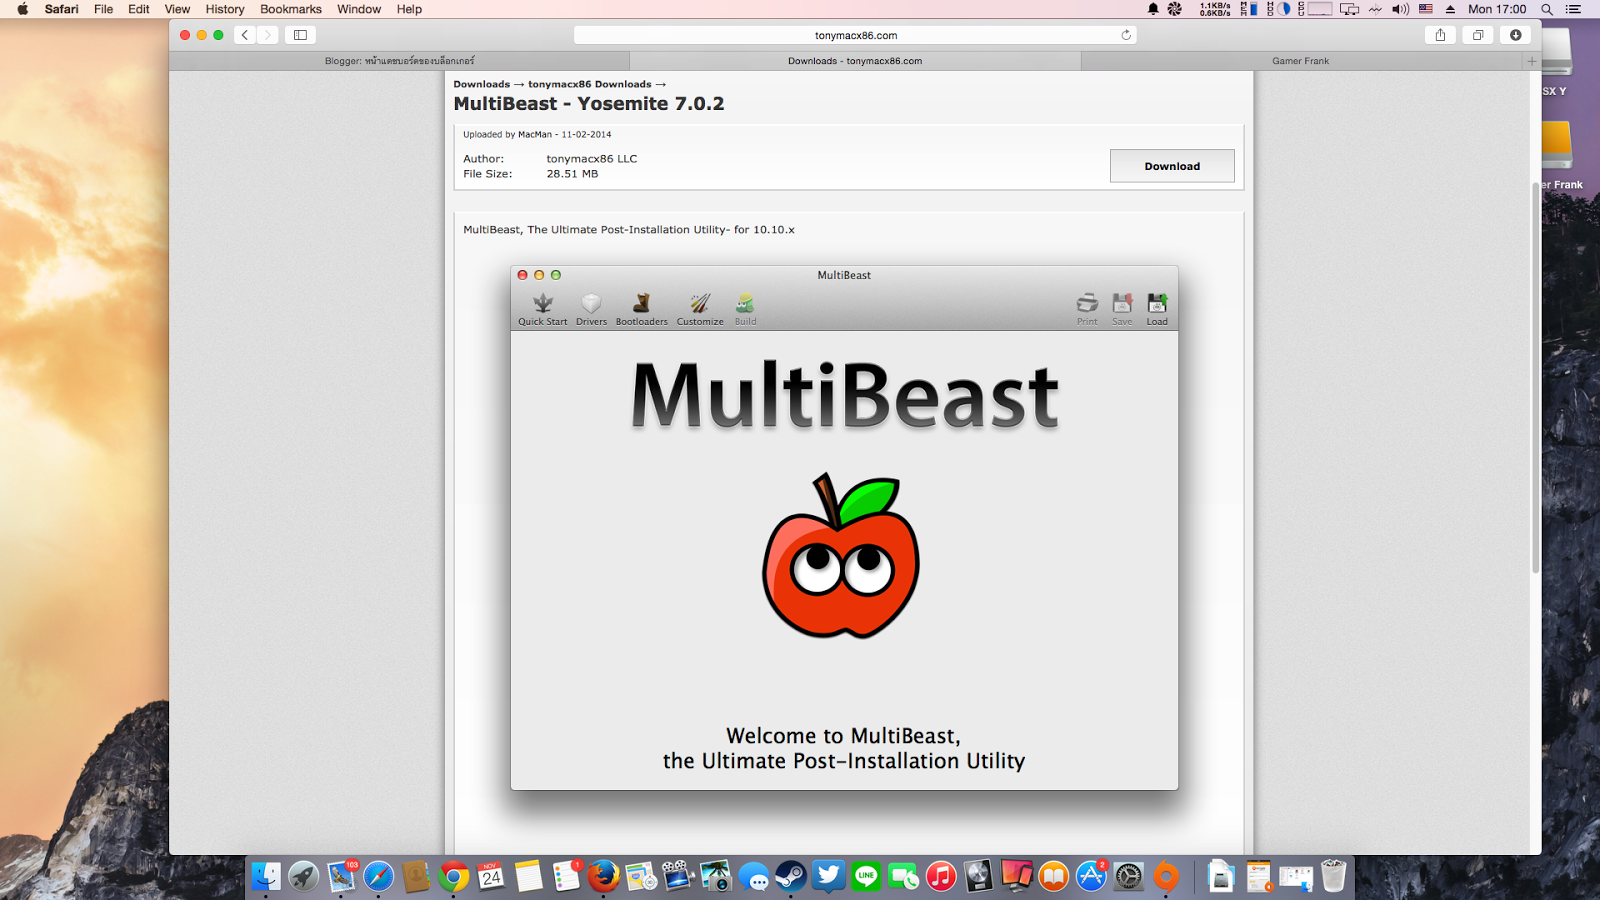
2. โหลด MultiBeast และ UniBeast ล่าสุด เครื่องมือของเราจากส่วนของการดาวน์โหลด
3. ซื้อUSBไดรฟ์ ขนาด 8GB หรือ ใหญ่กว่า
4. แบ็คอัพ ข้อมูลใน HDD
คำแนะนำต่อไปนี้เป็นวิธีการติดตั้งใหม่ เพื่อดำเนินการปรับปรุงจาก OS X Mavericks กับ OS X โยเซมิตี, บันทึกการตั้งค่าระบบข้อมูลและแอพพลิเคชั่นตาม นี้
STEP 1: Download OS X Yosemite
ระบบปฏิบัติการเต็มรูปแบบเป็นดาวน์โหลดฟรีสำหรับทุกคนที่ได้ซื้อ Mac OS X Snow Leopard, สิงโตหรือสิงโตภูเขาหรือ Mac โหลดไว้กับ Mavericks ดาวน์โหลดแอพลิเคชันจาก Mac App Store โดยใช้ ID แอปเปิ้ลของคุณบนใด ๆ Mac หรือการทำงานคอมพิวเตอร์ที่ใช้ Mac OS X 10.6.8 หรือใหม่กว่า
- เปิด Mac App Store
- Log in Apple ID
- Download OS X Yosemite
- The Application Install OS X Yosemite will appear in /Applications.
 |
| เพิ่มคำอธิบายภาพ |
สูดลมหายใจลึกและใช้เวลาของคุณเป็นเรื่องง่ายสวย แต่มันเป็นเรื่องง่ายที่จะพลาดสิ่งที่ถ้าคุณรีบ ทำตามขั้นตอนแต่ละตัวอักษร
เข้า BIOS/UEFI Setup, press and hold Delete on a USB Keyboard while the system is booting up
Load Optimized Defaults
If your CPU supports VT-d, disable it
If your system has CFG-Lock, disable it
If your system has Secure Boot Mode, disable it
Set OS Type to Other OS
Save and exit.
3. Choose USB-HDD
4. At the Chimera Boot Screen, choose your new Yosemite installation.
5. Complete OS X Yosemite setup
- เสียบ USB drive
- เปิด/Applications/Utilities/Disk Utility
- คลิกที่ USB drive ใน column ด้านขวา
- คลิกที่ Partition tab
- คลิก Current และเลือก1 Partition
6. คลิก Options...
7. เลือก Master Boot Record
8. ภายใต้ชื่อ: USB ชนิด (คุณสามารถเปลี่ยนชื่อได้ในภายหลัง)
9. เลือก Format: เป็น Mac OS Extended (Journaled)
10. คลิก Apply เพื่อสร้าง Partition
11. Download and run UniBeast
12. คลิก Continue, Continue, Continue, Agree
13. เลือกที่เสียบไว้ USB แล้วคลิก Continue
14. เลือก Yosemite บนหน้า Select OS Installation
15. คลิก Continue
16. ถ้าลงใน PC ใช้ระบบ 5 หรือ 6 ซีรีส์ที่ไช้ BIOS เลือก Legacy USB Support
17. ลงใน laptop เลือก Laptop Support
18. คลิก Continue
19. ใส่ password แล้วคลิก Install
UniBeast ตอนนี้จะสร้างไดรฟ์ USB ที่สามารถบูตได้ กระบวนการจะใช้เวลาประมาณ 10-15 นาทีขึ้นอยู่กับระบบและความเร็วของไดรฟ์ อย่าถอดปลั๊กหรือหยุดในช่วงเวลานี้
20. โหลด MultiBeast แล้ว Copy ลง USB drive
STEP 3: Recommended BIOS Settings
หากคุณกำลังติดตั้งบนเดสก์ทอป CustoMac แนะนำกับ AMI UEFI BIOS ตัวเลือกที่มีความเรียบง่าย สำหรับระบบอื่น ๆ ให้ตรวจสอบการตั้งค่า BIOS ของคุณเพื่อเริ่มต้นการเพิ่มประสิทธิภาพและฮาร์ดไดรฟ์ของคุณไปที่โหมด AHCI นี่คือการตั้ง
ค่า BIOS AMI UEFI มาตรฐานสำหรับการเป็น Gigabyte AMI UEFI BIOS Gigabyte AWARD BIOS ASUS AMI UEFI BIOS MSI AMI UEFI BIOS
STEP 4: Install OS X Yosemite
เกือบเสร็จแล้ว! สิ่งที่คุณต้องทำคือการบูตจากไดรฟ์ USB และติดตั้ง!
- เปิด computer
- กด hotkey เพื่อเข้า boot device (เช่น F12 หรือ F8)
- เข้า USB-HDD
- เมื่อ Chimera Boot Screen, เลื่อก USB แล้ว Enter
If you have trouble reaching the installer, type -x at the Boot screen as shown below. You can type the boot flagsGraphicsEnabler=Yes, PCIRootUID=1, maxmem=4096, maxmem=8192, and npci=0x2000 by themselves or together in order to solve boot issues for older graphics cards and machines. Type -v to bypass the Apple boot screen and enter verbose startup mode. X58 and X79 systems always need npci=0x2000. For further explanations of boot flags, check out the post here Also, if you need help with what to use for your graphics card, see the post here
5. When you arrive at the Installer, choose language.
6. สำหรับการติดตั้งใหม่ของ OS X คุณต้องลบและจัดรูปแบบไดรฟ์ปลายทางให้เป็นไปตามขั้นตอนดังต่อไปนี้ก่อนดำเนินการต่อ
a. In the top menu bar choose Utilities, and open Disk Utility
b. Highlight your target hard drive for the Yosemite installation in left column.
c. Click Partition tab
d. Click Current and choose 1 Partition
e. Click Options...
f. Choose GUID Partition Method
g. Under Name: type Yosemite (You can rename it later)
h. Under Format: choose Mac OS Extended (Journaled)
i. Click Apply then Partition
j. Close Disk Utility
c. Click Partition tab
d. Click Current and choose 1 Partition
e. Click Options...
f. Choose GUID Partition Method
g. Under Name: type Yosemite (You can rename it later)
h. Under Format: choose Mac OS Extended (Journaled)
i. Click Apply then Partition
j. Close Disk Utility
7. When the installer asks you where to install, choose Yosemite, or your existing install.
8. Upon completion, restart the system.
STEP 5: Post-Installation Using MultiBeast
MultiBeast เป็นเครื่องมือทั้งหมดในหนึ่งเดียวหลังการติดตั้งที่ออกแบบมาเพื่อช่วยให้บูตจากฮาร์ดไดรฟ์และติดตั้งการสนับสนุนสำหรับเสียง, เครือข่ายและกราฟิก นอกจากนี้ยังรวมถึงระบบสาธารณูปโภคที่จะอนุญาตซ่อมแซมและเก็บเงินจากคนขับและ config ไฟล์ การติดตั้งเสร็จสมบูรณ์แล้ว แต่ไดรฟ์ไม่สามารถบูตได้ยัง บูตจาก USB อีกครั้งคราวนี้เลือกโยเซมิตี
1. Turn on the computer
2. Press the hotkey to choose boot device3. Choose USB-HDD
4. At the Chimera Boot Screen, choose your new Yosemite installation.
5. Complete OS X Yosemite setup
6. Open and run Multibeast
7. If this is a fresh installation, click Quick Start to choose EasyBeast, UserDSDT, or DSDT-Free.
Click Drivers for Audio, Graphics, and Network options
Click Customize for further options
10. Click Print or Save to back up your configuration
11. Click Build then Install
12. Restart computer ติดตั้งเสร็จเรียบร้อย
เย้! ตอนนี้คุณมีรุ่นที่สามารถบูตได้ปรับปรุงอย่างเต็มที่ของ OS X โยเซมิตีใน CustoMac คุณ! และไดรฟ์ USB กู้ภัยซุปเปอร์ประโยชน์ มันง่ายที่จะได้รับความผิดหวัง แต่ไม่ให้ขึ้น! ถ้าคุณได้รับติดอยู่มีผู้ใช้จำนวนมากที่มีฮาร์ดแวร์ที่คล้ายกันใน tonymacx86 Forum ให้การสนับสนุน ขอขอบคุณเป็นพิเศษให้ทุกคนในชุมชนและผู้ดูแลของเราสำหรับการทดสอบ!
Troubleshooting and Optimizations:
หลังจากที่คุณได้เสร็จสิ้นการแนะนำสิ่งเช่นเสียง HDMI และ iMessage อาจไม่ทำงานโดยอัตโนมัติและในระดับสากล รายการด้านล่างนี้ควรทำหน้าที่ในการรองรับการเพิ่มประสิทธิภาพของระบบของคุณหลังจากที่ตั้งค่าเริ่มต้น
Alternate NVIDIA Graphics Drivers NVIDIA releases alternate graphics drivers separately on the web for each OS X build. These are different from the drivers Apple ships as standard, and should be considered experimental. In the past, the drivers have been known to solve OpenCL issues with certain applications, as well as providing better native GPU power management for certain devices. They also will enable the latest 'Maxwell' cards to work with full acceleration- NVIDIA GeForce GTX 750, GTX 750 Ti, GTX 970, and GTX 980.


.jpg)

ความคิดเห็น
แสดงความคิดเห็น